Stage numbers only mean something alongside a game version. Explore the original Battle City (J) atlas below; the Tank 1990 H capture remains a separate collection.
All 35 original Battle City levels
Study the original Battle City (J) maps, enemy rosters and map-based defensive plans. These are reference maps, not the Tank 1990 modes in our player.
Start a new single-player game at the selected original 1985 level. Your saved game is not overwritten. For local two-player play, use the normal game menu. Tank 1990 has different maps.
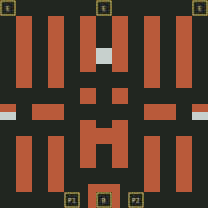
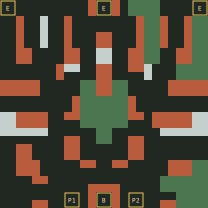
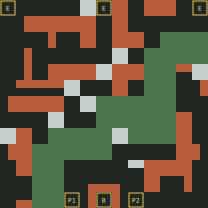
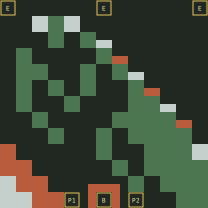
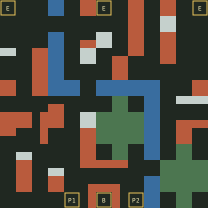
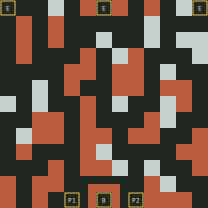
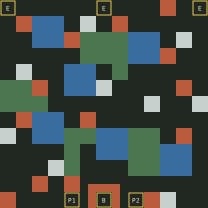
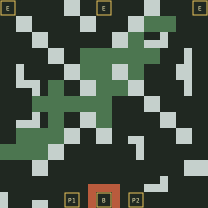
Six tall brick columns divide the opening field. The central steel block interrupts the upper middle, while lower brick pillars narrow the return to headquarters.
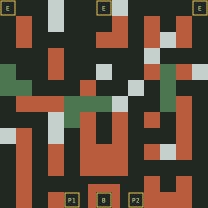
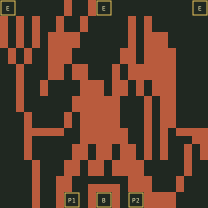
Scattered steel blocks break the brick corridors; forest interrupts sight on the left and around the middle-right. A solid brick mass sits above the base.
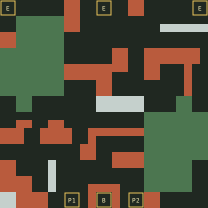
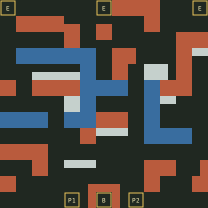
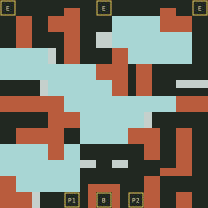
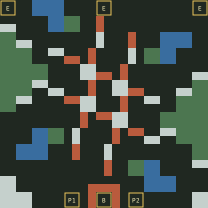
An irregular river cuts across the middle-left and upper-right. Thin steel pieces on the right and brick near home create abrupt changes in route width.
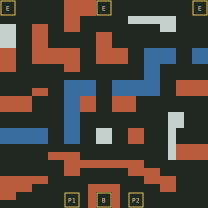
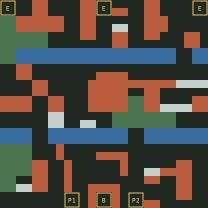
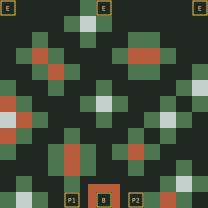
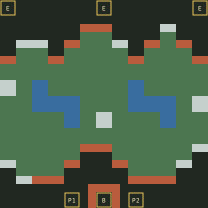
Two mostly horizontal rivers divide the map into upper, middle and lower bands. Their gaps are offset, while forest hides parts of the middle-right and bottom-left.
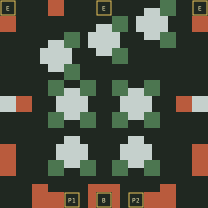
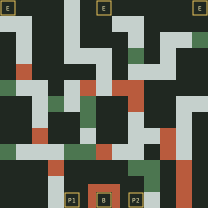
Small steel-and-forest islands leave broad gaps between them. The sparse brick cover near the base does not divide the lower field into safe compartments.
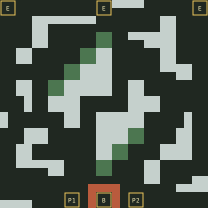
Large ice patches connect the upper-right to the lower-left. Brick interrupts those patches, so a slide can carry you toward a wall or exposed junction.
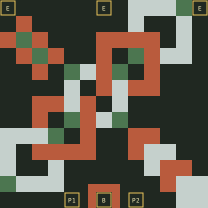
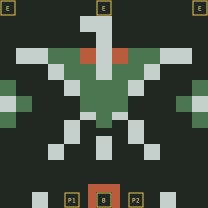
Brick and steel form diagonal pockets, including enclosed shapes at the upper-right and lower-left. Forest occupies small pockets rather than a continuous screen.
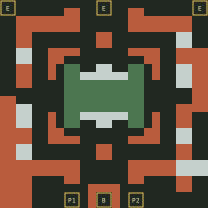
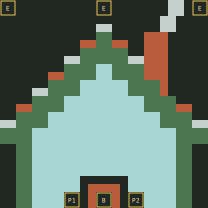
A broad forest-filled brick outline encloses open space and two internal steel columns. Heavy lower brickwork and steel steps restrict the return from that enclosure.
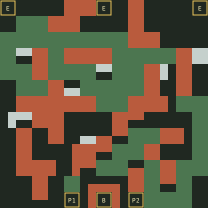
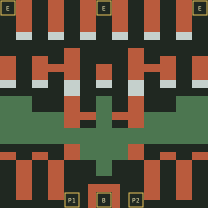
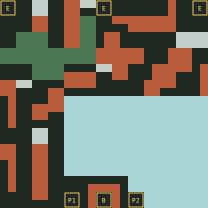
Forest covers almost the whole middle and lower field. Water and short steel fragments are embedded inside it; only the top and the base approach are relatively clear.
Irregular brick shapes occupy the centre and both lower approaches. No steel, water, forest or ice complicates the initial geometry: every obstruction is destructible brick.
Original Battle City (J), 1985: the atlas uses stage-numbered disassembly data, checked against two other representations. Every page shows its sources and distinguishes fixed enemy types from dynamic battle behaviour. The maps are data-rendered references; the tactics are our analysis of their geometry, not claims of a cartridge play-through.
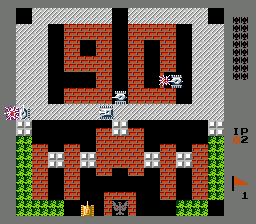
Currently playable: Tank 1990 modification. Use the lettered menu option and stage number together when identifying its layout. We have not established a mode-by-mode correspondence with the original atlas. Starting our player does not start the original level you are reading. The captured H opening below is not original level 1.
The last approach to the base. Follow every open corridor upward from headquarters. A long clear line can become dangerous before an enemy reaches the bottom.
The turn behind cover. A wall may protect you while facing one direction and trap you when a fast tank appears around the corner. Keep a retreat lane.
The route to a pickup. Ask what happens at home while you travel. A valuable item at the far edge can cost more than it gives.
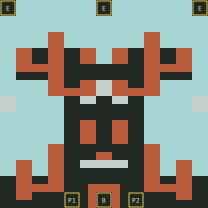
The tactical diagram below is an original explanation of these responsibilities, not a tile-accurate reconstruction of a numbered level.
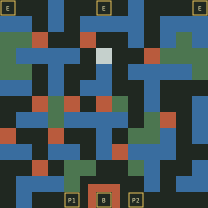
TANK H · Stage 1: protect the lower approaches
This atlas describes original Battle City (1985), available on the 1985 page. Home, Online and NES run Tank 1990: its lettered modes and maps are different. Opening a player starts its normal menu, not the selected atlas stage. The H-mode screenshot below is not original stage 1.
The headquarters sits in the bottom centre with brick around its approaches. Before removing cover, decide whether the opening helps you intercept a tank or extends an enemy's line toward home. Keep a return route through the lower field; pushing too far upwards can leave you too far away to respond.
With two players, leave one defender close enough to cover the base while the other changes lanes. The pictured enemy positions are a moment during the run, not fixed spawn points or a guaranteed enemy route.
TANK H · Stage 1Actual Tank 1990 capture: TANK H, stage 1. Enemy positions show one moment, not fixed spawn points. This is not an original Battle City map.Share the defenceOriginal tactical schematic: two interception lanes and a shared fallback near the base. Not a numbered level map.